スタッフブログ
基礎補強の様子をご紹介します!
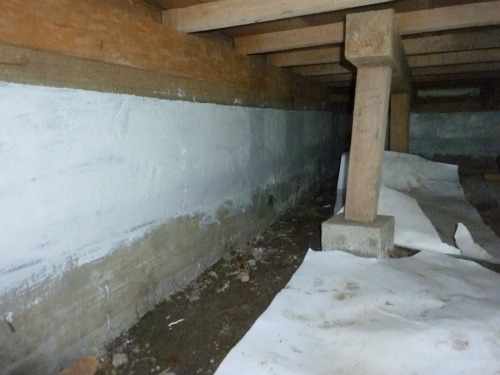
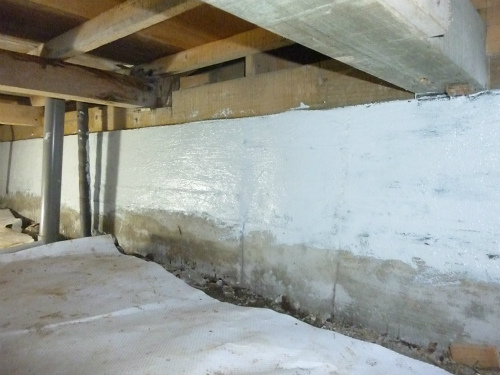
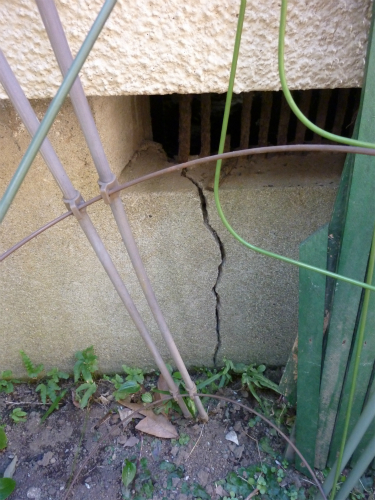
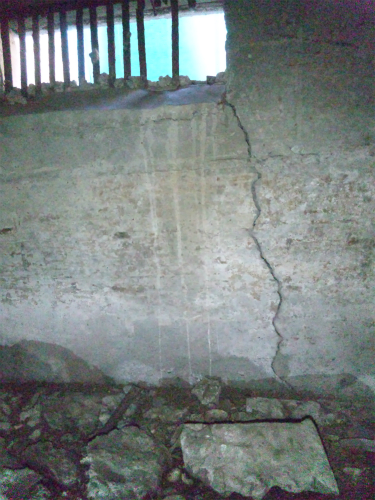
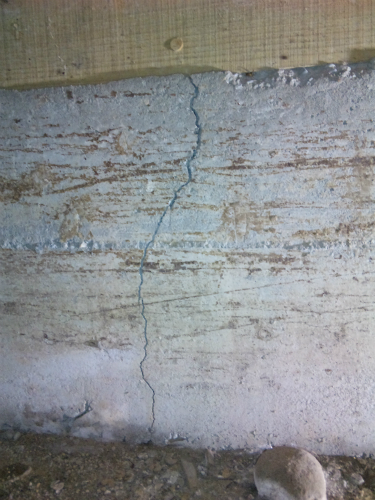
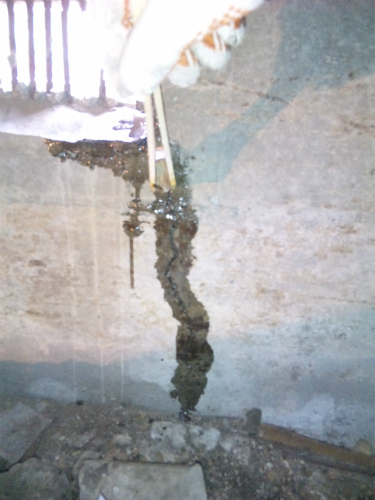
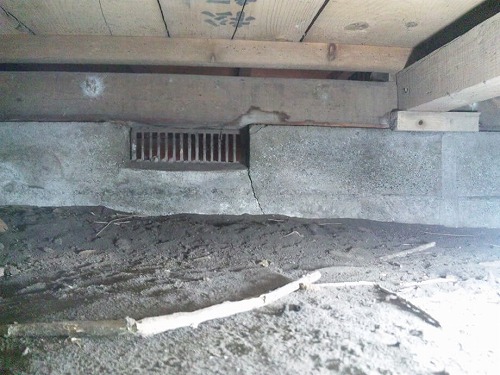
無筋コンクリート基礎でクラックの目立つT様邸・・・
床下(内側)から基礎補強を行うことになりました((=゚Д゚=))ノ
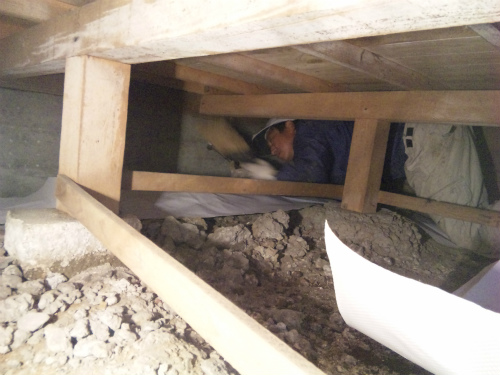
基礎補強を行うべく集結した!?
式守大工さん・斉藤さん・小栗
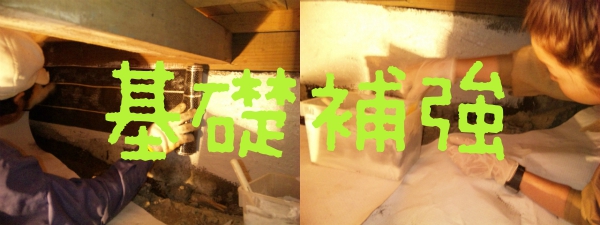
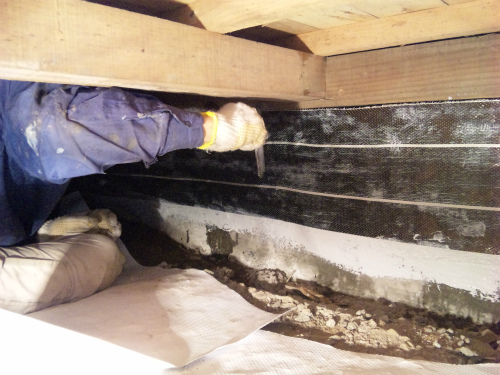
式守隊長が基礎のホコリを排除!!!サッサッ
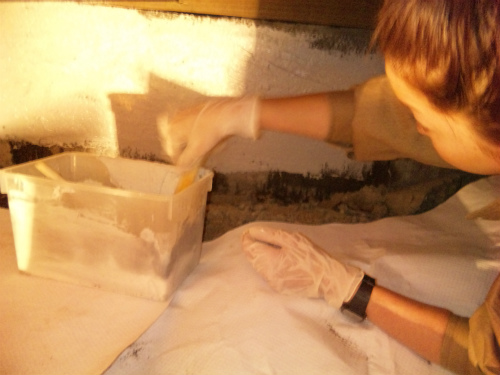
斉藤さんが特殊な液を混ぜ合わせ、クラック部分に塗布!!!ヌリヌリ
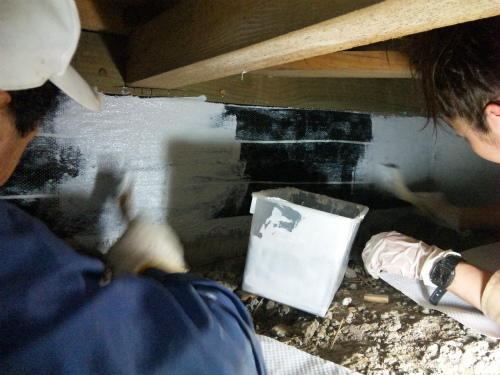
基礎全体に専用シーラーを塗布!!!ヌリヌリ
シーラーが乾いた基礎に、小栗が硬化時間25分の接着剤を塗布!!!ヌリヌリ
接着剤が乾く前に、すかさず式守隊長が炭素繊維を張りつける!!!ペタペタ
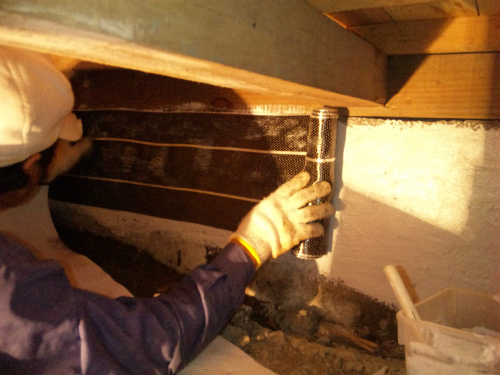
そして上から鉄のローラーで押さえる!!!コロコロ
力を合わせ! その上から接着剤を塗布!!!ヌリヌリ
この作業を何度も何度も繰り返すこと5時間・・・
基礎補強が完了しました!!!(〃ゝω’)b